HOME                  SHOP                  ABOUT                  PORTFOLIO

Showing posts with label sewing. Show all posts

Wednesday, April 3, 2013

Studio space - Custom storage solutions

home studio space sewingroom

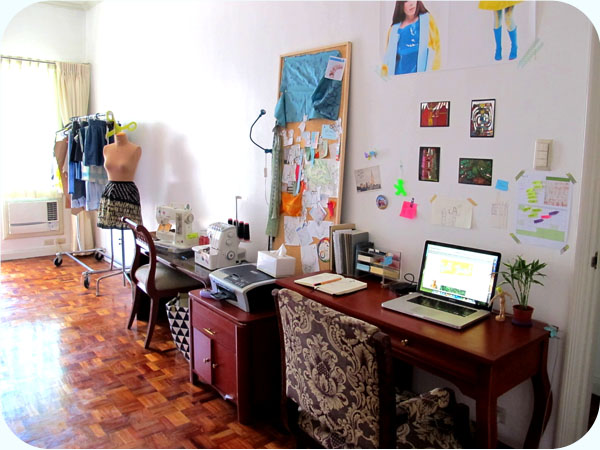
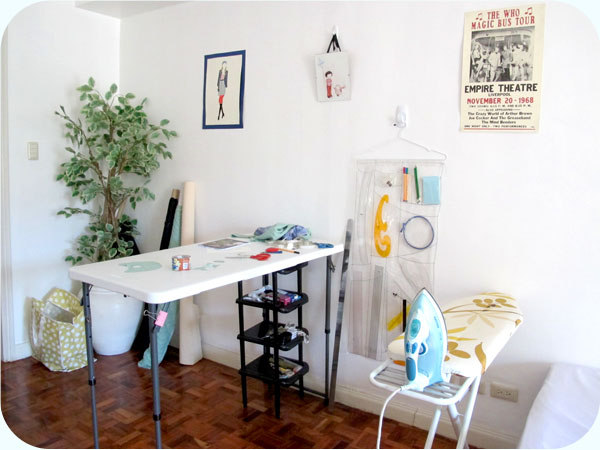
I love my studio space in Manila. Intended as the master bedroom, it's a lovely big room with lots of natural light, a balcony and plenty of storage space. I have everything I need to run my business set up so I'm ready to work every day. The only thing I didn't bring with me from my work room in Australia was the big cutting table that my dad and I made. Keeping in mind that we'll be moving again in two years, I bought a folding adjustable height table to serve as my cutting table while I'm here. It's the perfect height and it does the job fine, but it is a very limited space.
studio cutting pattern making work space

I found that a lot of the time, half the space on my table was taken up by whatever tools I was using - rulers, pencils, scissors etc. I needed somewhere to put all that stuff where it could still be within easy reach to use, but be off the table. I partly solved this problem by buying some small black shelves, which can be seen in the photo above. Those shelves hold small objects like pins, chalk, scissors, pattern notchers and other tools. To keep all of my pattern making rulers accessible but off the table, I made this custom shaped ruler-holder-thingy (good name huh?). It was a really quick easy project and you could make something similar to hold any sort of lightweight tools - kitchen stuff, art supplies, make up - anything you can think of.

custom pattern making tools storage solution

If you want to make something like this, you'll need some clear plastic sheeting - the kind used to cover tables at outdoor cafes. I seem to always have some of this around because it was used so heavily in my grad collection, but it's really handy for other projects too! You can get it really cheaply at hardware shops or some of the bigger dollar stores/variety shops/whatever you want to call them. You'll also need a way to attach it to the wall. I ended up just stitching it to a wide coat hanger and hanging it from a jumbo sticky hook on the wall. Make sure the weight of your objects is evenly distributed or it'll hang on a wonky angle.
pattern making ruler holder

How to make it:

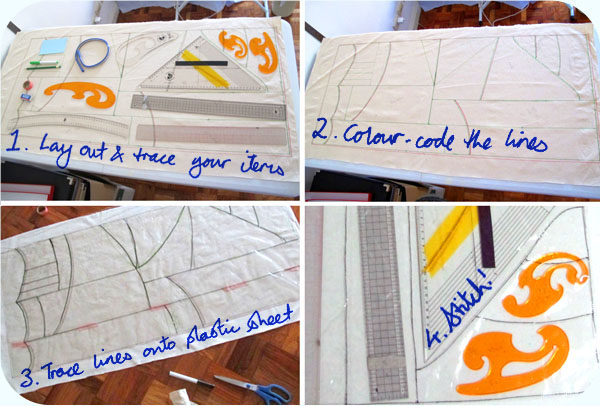
1. Arrange your objects how you'd like them and trace sections onto a piece of paper (or a bit of cheap fabric, if you don't have a large enough piece of paper handy). Think about how they'll fit into pockets and how you'll get them out - make sure at least 4-5cm of the object is sticking out the top of it's pocket so you can grab it easily.

2. Next, get two coloured pens - one for cutting lines, and one for sewing lines. Concentrate and think about which lines represent a pocket opening and which lines represent dividers or the bottom of a pocket.

3. Lay out two plastic sheets on top of each other - they'll kind of stick together, but that's ok. Make sure they're flat. Trace your cutting lines onto the top layer of plastic. If you use a whiteboard marker, you can just wipe it off after you've finished. Cut along the cutting lines (don't use fabric scissors!). Then trace the sewing lines. Put a few pins in to keep the layers in place, but not too many because they leave little holes in the plastic. The plastic actually sticks together so well that you don't need many pins at all.

4. Stitch along all of your sewing lines. Use big stitches and adjust the tension so they're not too loose. It can be a bit tricky to move around a big piece of plastic on a sewing machine, so this part will take some patience. Roll the plastic up and work one section at a time. Once you're finished, you can hang it up and move everything into it!

Monday, April 1, 2013

The Great Big Wedding Post

initial letter wedding photo victoria park sydney

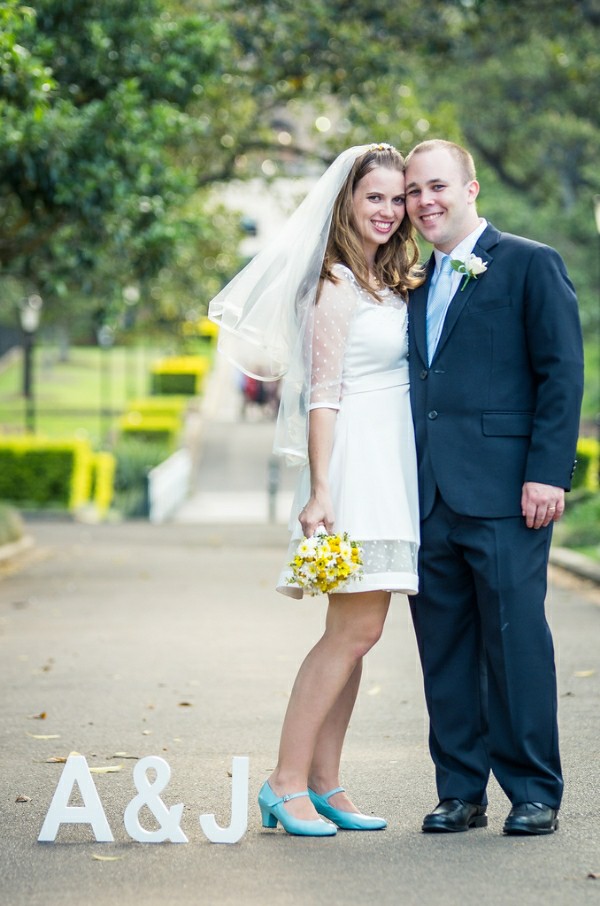
Our wedding was held three weeks ago at Victoria Park, Sydney. It's a beautiful big park just up the road from where we lived when we first met six years ago. We got engaged two months before moving to the Philippines, so I planned most of the wedding in that time. It was fun to plan and ended up being a fun, happy and relaxing day. All of the beautiful photos were taken by my brother, Mark. He's actually a pilot but he somehow finds time to also be a really great photographer. You can check out his flickr photos here.

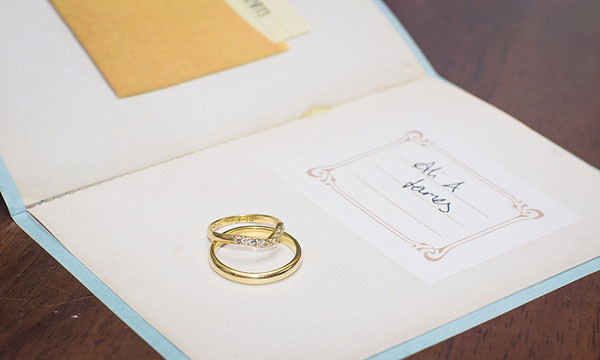
wedding ring book invitation

I designed and printed our own invitations to look like old library books.

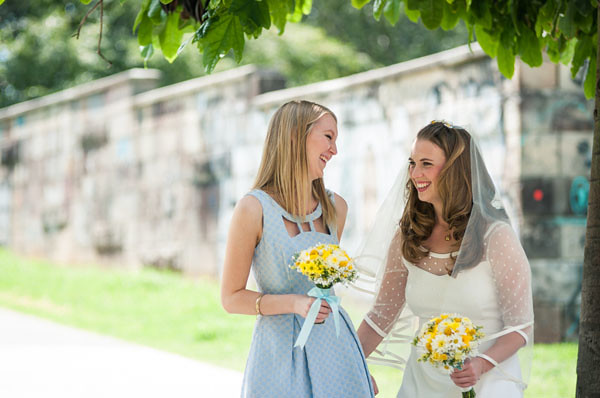
review bridesmaid dress blue yellow white bouquet

This is my bridesmaid, Jess, and I hanging out in a park (not the 'wedding park') before the wedding. I normally like being ready early and arrive places exactly on time, so this whole 'the bride is always late' thing was pretty frustrating to me. Of course she turns up last - she has to wait until everyone else is at the ceremony site and ready to go!

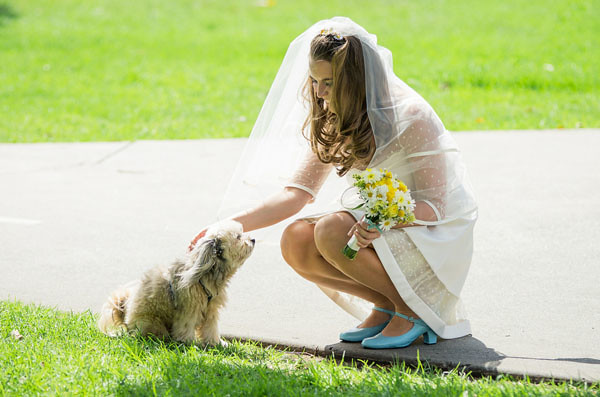
bride short wedding dress dog yellow bouquet

This little dog came to say hello while we were waiting. Note the pretty bouquets - Jess and I made our own. I love how they turned out! This is also a good point to mention my shoes. They were made by Golden Ponies, who I have raved about on here before - it is my absolute favourite brand of shoes to buy from. Thank you, Erandi, for making such cute, comfortable and affordable wedding shoes! Everyone was complimenting them.

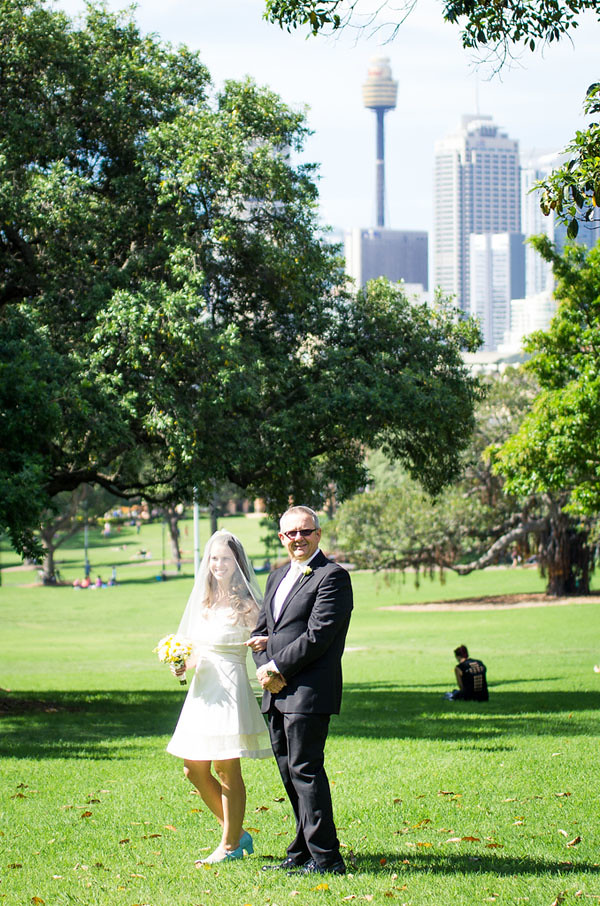
victoria park sydney wedding walking down aisle

...and we're off! Here's my dad and I walking down the aisle - well, across the park anyway.

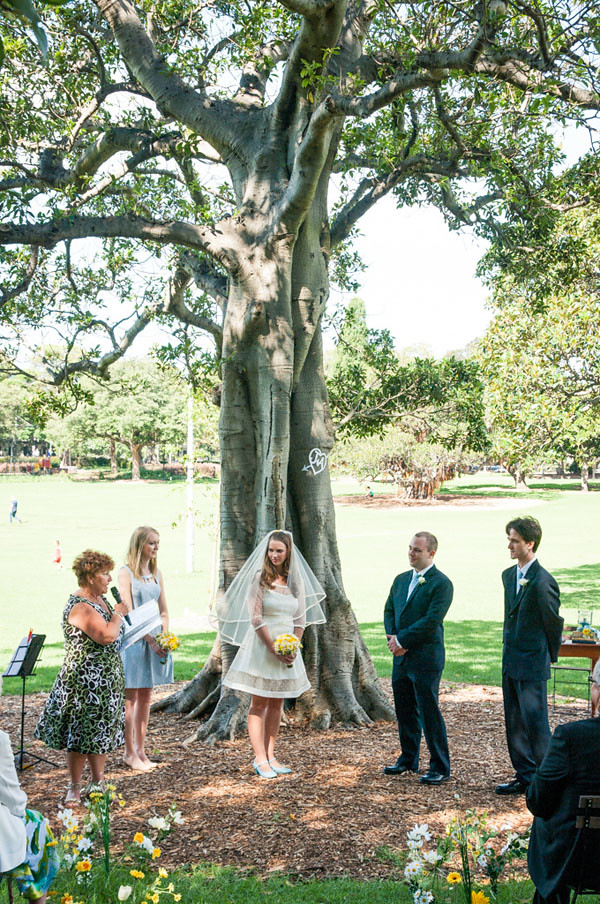
victoria park sydney wedding tree initials

Our gorgeous wedding spot. We 'planted' hundreds of fake flowers in the ground to create an 'aisle' and it looked amazing! The flowers, chairs and lots of other decorations all came from IKEA - I used to work there before I moved here.

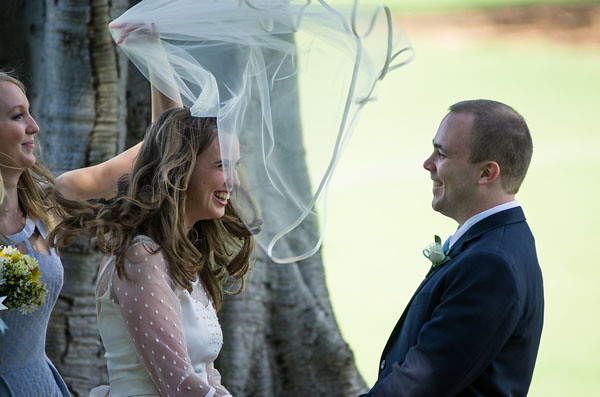
wedding veil wind

We ended up with a perfect day, weather-wise, but there was just a bit of wind!

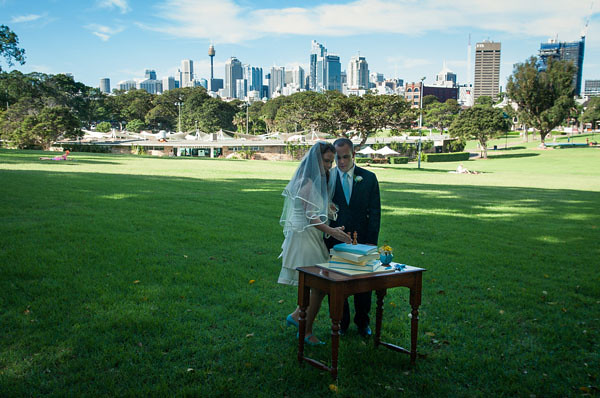
sydney skyline book wedding cake

Discussing how to go about cutting the cake - this was deemed necessary after my brother's wedding last year. He and his wife tried to cut into the cake and discovered that the icing was very thick and completely solid, resulting in hilarious photos of him hacking into his wedding cake with a very determined look on his face!

book wedding cake chess pieces

A close up of our lovely book cake made by Glamour Cakes. It was so exciting when the cake arrived, the house just filled with the smell of sugar! It tasted amazing too. The chess piece cake toppers were partly inspired by our tradition of playing chess on holidays, and partly by me thinking 'hmmm, maybe we should have cake toppers... these will do!'
We had the cake and a champagne toast in the park after the wedding ceremony, like a nice afternoon picnic!

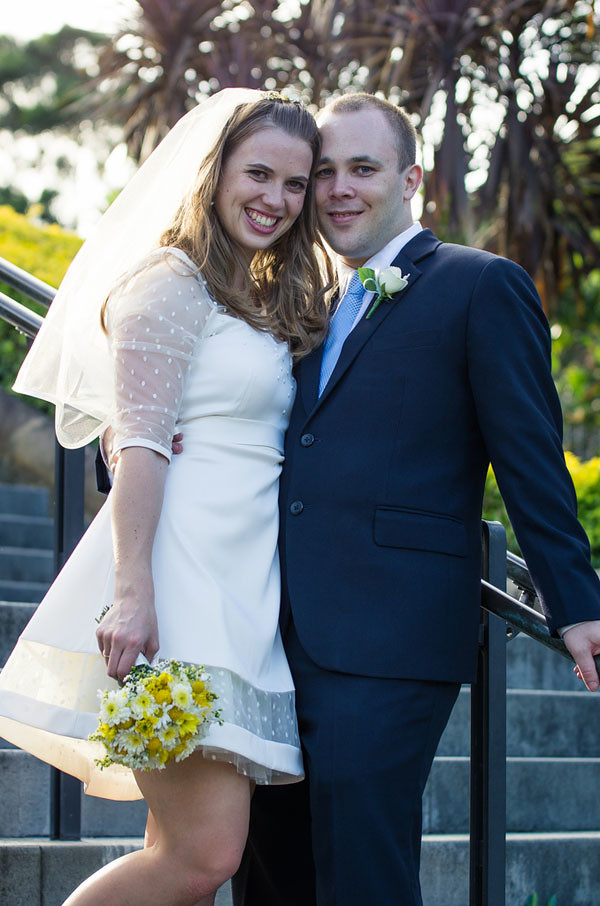
ali polka dot wedding dress bell street

After mingling with our guests for awhile, we headed off to take photos around the park.

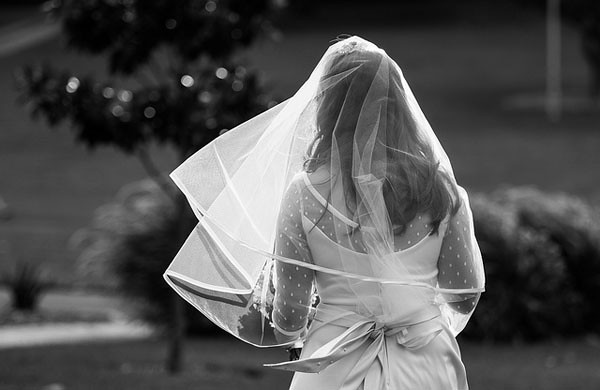
bell street polka dot wedding dress back

As I've mentioned before, I made my own dress. I'm so happy with how it turned out! My mum made my veil.

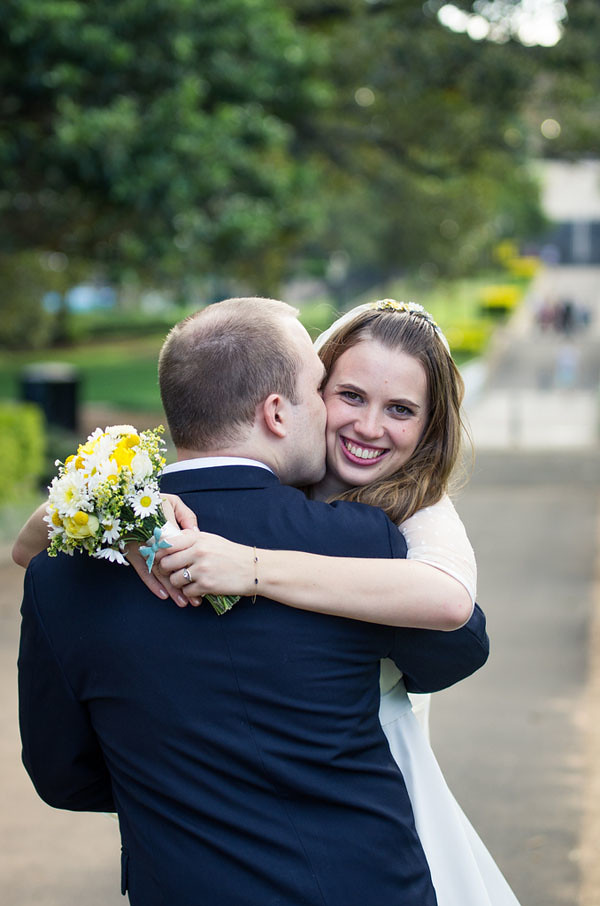
ali wedding yellow white bouquet

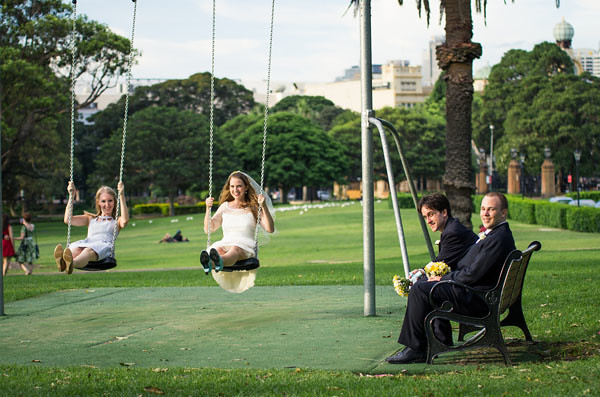
victoria park sydney swing set wedding bride

Jess and I were determined to play on the swing set in our pretty dresses. I love this photo with the boys holding our bouquets!

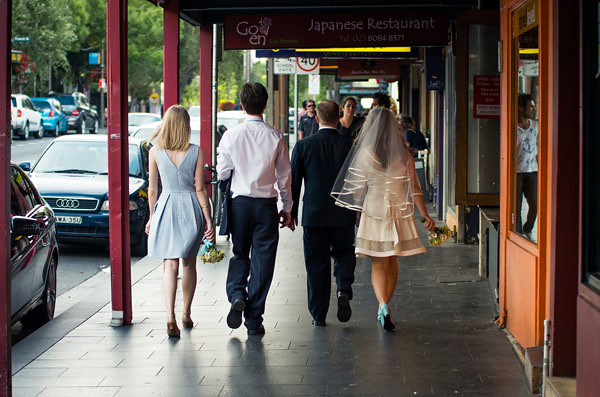
glebe point road sydney wedding party circular drop veil

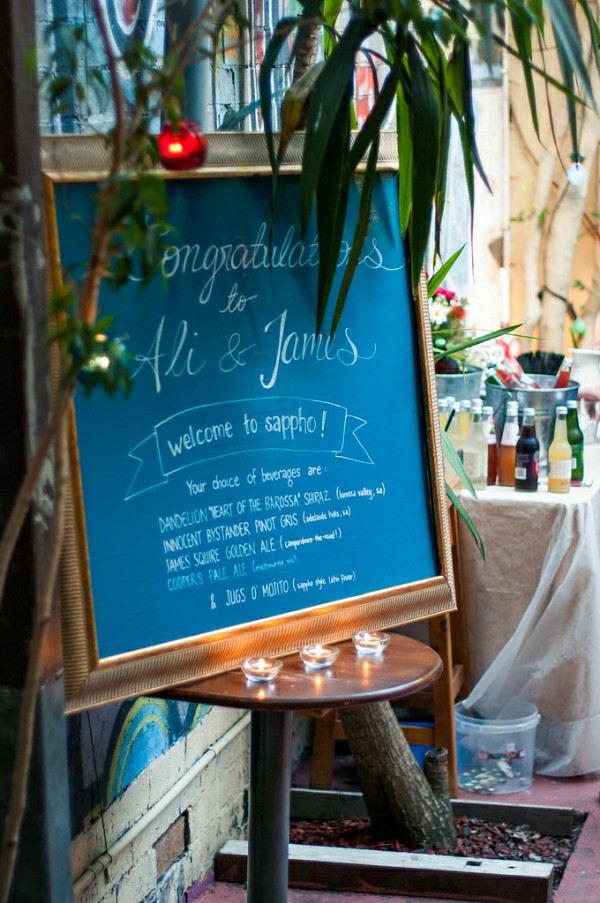
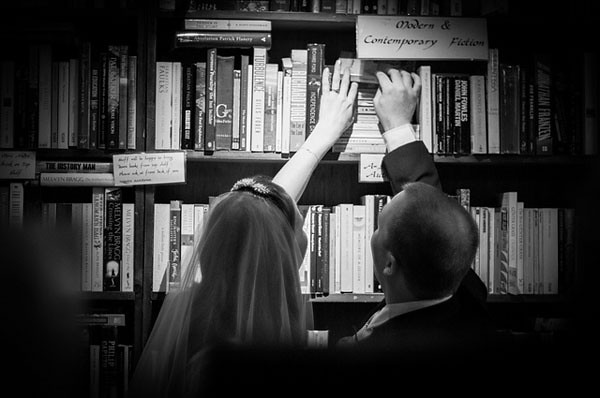
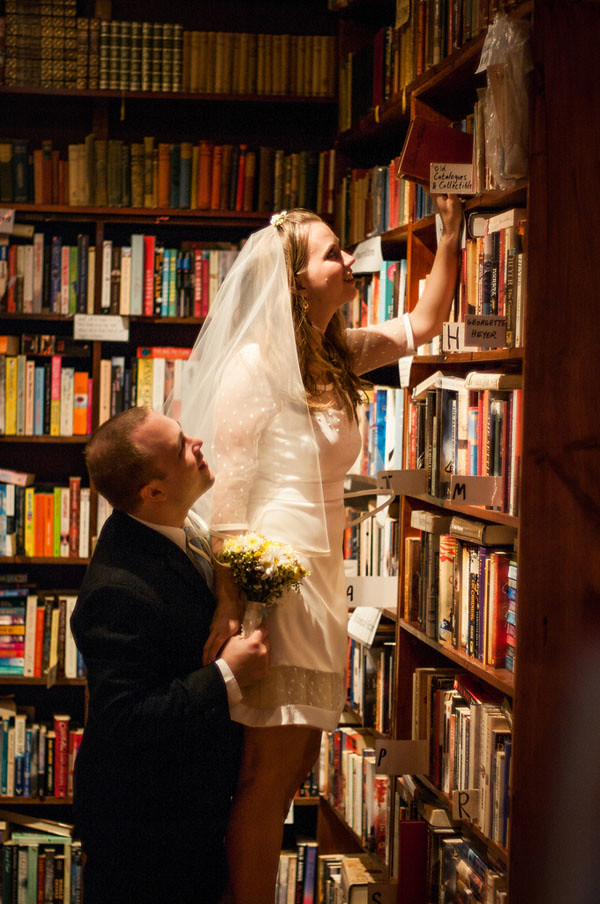
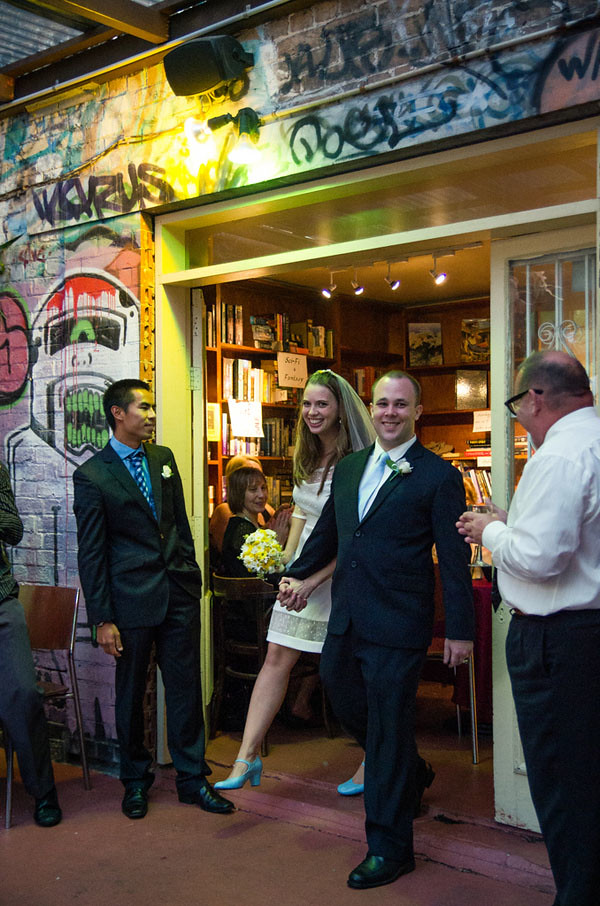
Walking down Glepe Point Rd to our reception at Sappho, a beautiful little second hand bookshop with a cafe & bar out the back. They serve tapas for dinner at night, and they created a delicious tapas menu for our reception that kept everyone very happy all night. I'm still thinking about all that good food!

sappho wedding chalkboard sign

book shop wedding

book shop wedding library

wedding sappho books tapas bar entrance

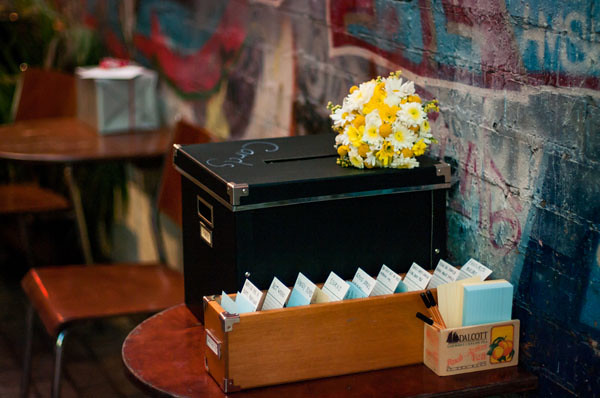
library card wedding guest book

Our 'guest book' was a library catalogue drawer with dividers that said things like 'Advice for a happy marriage', 'Good jokes', 'Things James should know about Ali'/'Things Ali should know about James' etc. People got really enthusiastic about filling out little index cards and filing them into categories, and they were hilarious to read the next day!

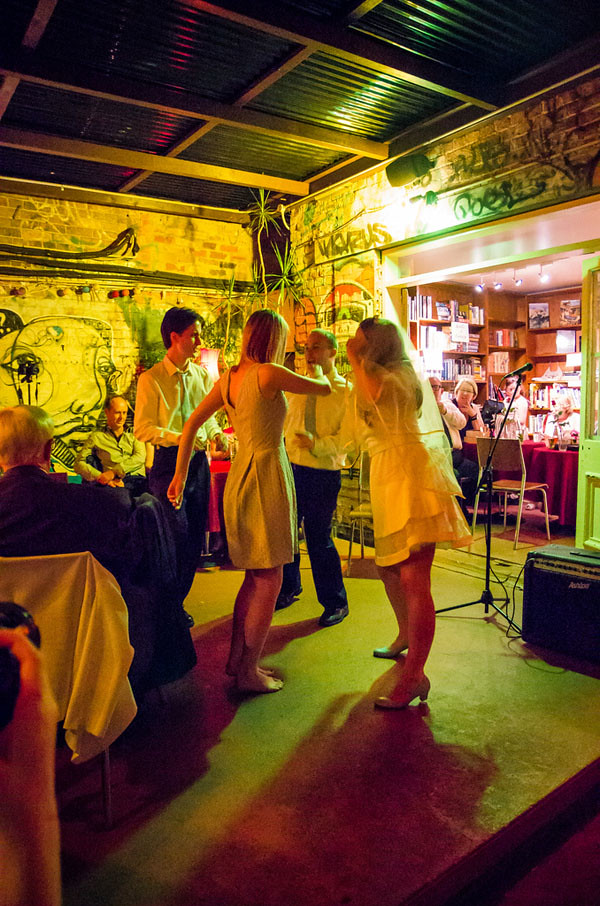
wedding dance twist

We did our dance to 'You Never Can Tell' by Chuck Berry, inspired of course by the twist scene with John Travolta and Uma Thurman in Pulp Fiction. This photo captures all the things I love about Sappho - books, plants, coloured lights, and crazy graffiti all over the walls.

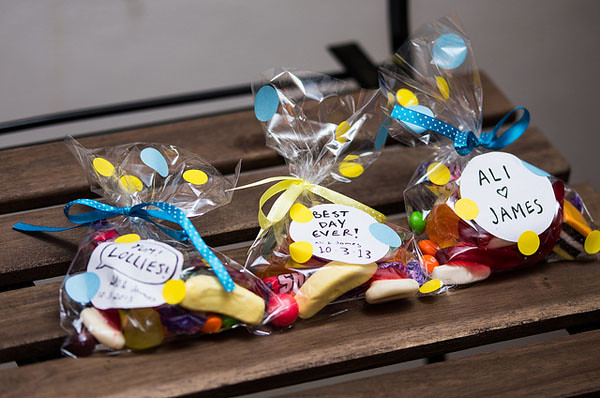
wedding favour lolly bags

Like any good party, everyone went home with a lolly bag. I may have taken two...

Sunday, May 22, 2011

Duffel Coat Makeover

IMG_2388

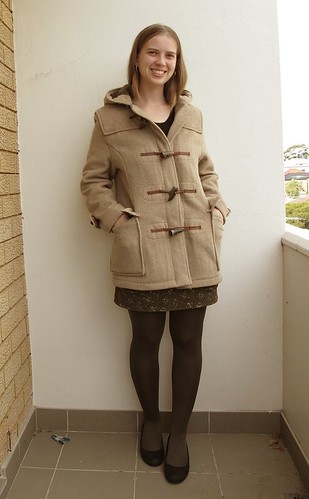
When my Dad and I were in Japan, we noticed girls everywhere wearing cute duffle coats. Dad saw one in a department store that was exactly like one he used to have. I said I knew exactly which coat he was talking about, because I've tried it on before and wished it was my size. Ever since I first read Paddington Bear I've loved the look of duffle coats.

I started looking for one of my own, which seemed easy as every store was stocking a variety of duffle coats. None of them were quite right though. They all had fur trims, the fabric was too thin and cheap, they had crazy linings, or if they were nice they were too expensive (or they only came in tiny Japanese sizes).

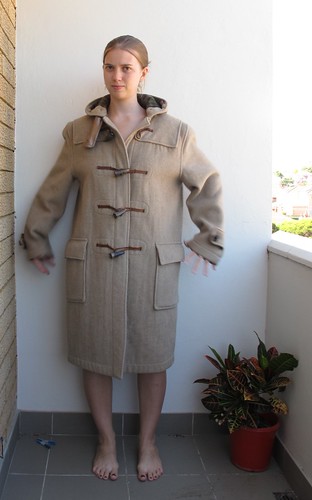
I kept saying to dad 'It needs to be that nice camel colour that yours is'... 'I want proper horn toggles like on yours'... 'I like how yours has a tartan lining'... you can see where this was going. Finally sick of wandering around crazy Japanese clothing shops, Dad said 'If you can make my old coat fit you, it's yours'. I thought about it and realised that although it would be a big job (literally - it was a huge coat), it would be worth it to have the lovely fabric and proper trims.

So when we got home, we dug the coat out of the wardrobe.


IMG_1517

It was huge, had a few little moth holes and stunk of moth balls. I was happy though, because the fabric and trims were just as nice as I remembered and the way it was constructed meant that the job would be a little bit easier than I originally thought.

I re-set the sleeve, bringing the shoulders in and making the sleeve just the right length. I narrowed the sleeve and the side seams. I added princess seams at the front and darts at the back. I moved the pockets upwards and hacked about 25cm off the bottom.

IMG_2368

I'm so happy with how it turned out! I'm glad I took my time to do it properly, and extra glad I didn't buy a cheap reproduction in Japan. I love this coat!

IMG_2356

Of course the weekend that I finally finished this lovely warm coat has been the warmest weather in weeks! Winter is supposed to be just over a week away and we've had sunny 24 degree weather (that's 75 fahrenheit). So I had to throw on a winter-y outfit to take these photos because it looks stupid wearing a coat over a t-shirt and shorts.

IMG_2378

IMG_2383

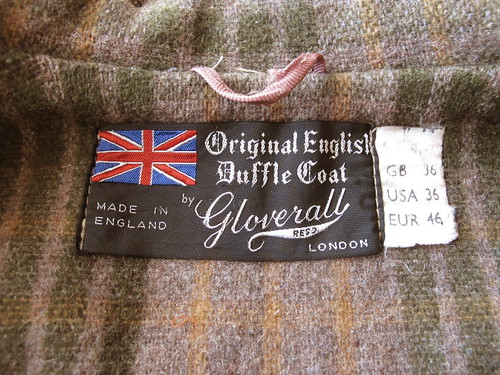
I googled Gloverall and found that they are still making duffle coats in a huge range of beautiful colours! For three hundred pounds though, I think I'll just stick with my customised vintage version!

IMG_2387