HOME                  SHOP                  ABOUT                  PORTFOLIO

Showing posts with label inside. Show all posts

Wednesday, January 8, 2014

Inside: my workroom


I've moved a lot of things around since I last shared photos of my workroom so I thought I'd do an update. The main reason for moving everything was to have my desk in the one corner of the room that gets good wi-fi, but I like it better how it is now. The room feels even bigger and the air flows better if there's a breeze, which is a nice treat in this hot climate.


This room doubles as a spare bedroom but when we don't have anyone staying, I push the twin beds against the wall and cover them so they're kind of like a giant couch/storage bench. Most of the time (when I'm not taking photos) there's a lot more stuff piled up on them!


I can never get enough light when I'm sewing so the fairy lights are practical and pretty.


I decided to use the fancy panorama mode on my phone camera so you can get the whole picture:


Wednesday, April 3, 2013

Studio space - Custom storage solutions

home studio space sewingroom

I love my studio space in Manila. Intended as the master bedroom, it's a lovely big room with lots of natural light, a balcony and plenty of storage space. I have everything I need to run my business set up so I'm ready to work every day. The only thing I didn't bring with me from my work room in Australia was the big cutting table that my dad and I made. Keeping in mind that we'll be moving again in two years, I bought a folding adjustable height table to serve as my cutting table while I'm here. It's the perfect height and it does the job fine, but it is a very limited space.

studio cutting pattern making work space

I found that a lot of the time, half the space on my table was taken up by whatever tools I was using - rulers, pencils, scissors etc. I needed somewhere to put all that stuff where it could still be within easy reach to use, but be off the table. I partly solved this problem by buying some small black shelves, which can be seen in the photo above. Those shelves hold small objects like pins, chalk, scissors, pattern notchers and other tools. To keep all of my pattern making rulers accessible but off the table, I made this custom shaped ruler-holder-thingy (good name huh?). It was a really quick easy project and you could make something similar to hold any sort of lightweight tools - kitchen stuff, art supplies, make up - anything you can think of.

custom pattern making tools storage solution

If you want to make something like this, you'll need some clear plastic sheeting - the kind used to cover tables at outdoor cafes. I seem to always have some of this around because it was used so heavily in my grad collection, but it's really handy for other projects too! You can get it really cheaply at hardware shops or some of the bigger dollar stores/variety shops/whatever you want to call them. You'll also need a way to attach it to the wall. I ended up just stitching it to a wide coat hanger and hanging it from a jumbo sticky hook on the wall. Make sure the weight of your objects is evenly distributed or it'll hang on a wonky angle.

pattern making ruler holder

How to make it:

1. Arrange your objects how you'd like them and trace sections onto a piece of paper (or a bit of cheap fabric, if you don't have a large enough piece of paper handy). Think about how they'll fit into pockets and how you'll get them out - make sure at least 4-5cm of the object is sticking out the top of it's pocket so you can grab it easily.

2. Next, get two coloured pens - one for cutting lines, and one for sewing lines. Concentrate and think about which lines represent a pocket opening and which lines represent dividers or the bottom of a pocket.

3. Lay out two plastic sheets on top of each other - they'll kind of stick together, but that's ok. Make sure they're flat. Trace your cutting lines onto the top layer of plastic. If you use a whiteboard marker, you can just wipe it off after you've finished. Cut along the cutting lines (don't use fabric scissors!). Then trace the sewing lines. Put a few pins in to keep the layers in place, but not too many because they leave little holes in the plastic. The plastic actually sticks together so well that you don't need many pins at all.

4. Stitch along all of your sewing lines. Use big stitches and adjust the tension so they're not too loose. It can be a bit tricky to move around a big piece of plastic on a sewing machine, so this part will take some patience. Roll the plastic up and work one section at a time. Once you're finished, you can hang it up and move everything into it!

Tuesday, January 22, 2013

Hmm... what can I show you?

I haven't had much to post lately, because I've been working on making my wedding dress (!) and I don't want to show any photos of that process until after the wedding! I've also been working on some bridesmaid dresses for someone else's wedding, so that's another project I don't want to share until it's all done. So... what can I show you?

MAR13

My March 2013 collection rack is starting to fill up... don't worry, it's not ALL tie-dye. I just haven't finished the other stuff yet. I'm a little bit behind my original schedule, because I made those plans before I got engaged so didn't factor in the wedding dress! I think this collection will be called Angie. I'll be starting to list items in the Etsy store over the next few weeks.

Bell Street- countess top

This is my favourite piece so far. I've called it the Countess top because the neckline and flutter sleeves were inspired by a dress worn by Cora on Downton Abbey. I love that show!

MAY13

Speaking of collections, I've got a bit of a moodboard going for the next one. The map was painted by my mum for our storybook inspired wedding invitations. I had already decided on the colours for the collection before I realised that the map fits in perfectly!

A couple more things from around the apartment:
plants, books & vintage clock

I'm very much liking this corner of the living room. The whole room needs more plants and more books.

world map with fairy lights

This world map, with black dots for places visited, has been on my wall in four different apartments now. I thought I'd fancy it up with some fairy lights.

stormy

It's been nice and cool in Manila lately, and raining on and off all day today. I realised that I can get a bit of a panorama shot by taking photos from different windows! The area we lived in Sydney was very residential so I'm still getting used to seeing so many buildings in every direction. It's never boring.

Sunday, January 6, 2013

Inside: Our living room

living room 

  Our shipment from Australia arrived a few days before Christmas, and one of the first things I wanted to do was get the apartment looking nice. I was a bit sick of it looking like a boring old lady's house and I was really excited to get out all our stuff from back home.

living room

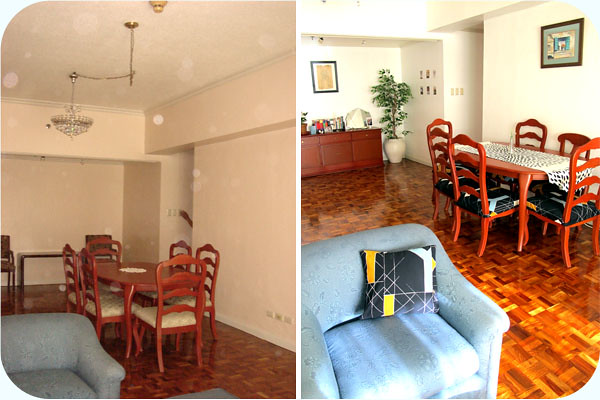
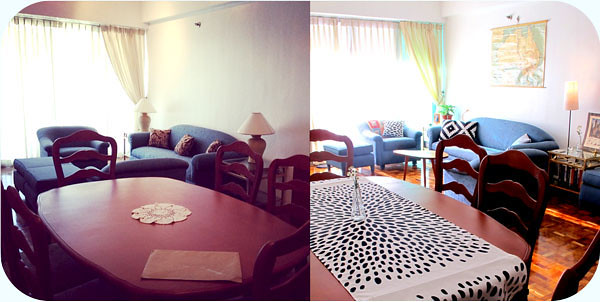
The photo on the left is what the place looked like when James first saw it - nice, but not really our style. We asked them to paint the creamy-pink walls white and it makes the place look SO much brighter and more modern. Also - we didn't remove the little chandelier, it just didn't make it into any of the newer pictures. I like it, it's so sparkly!

living room

I 
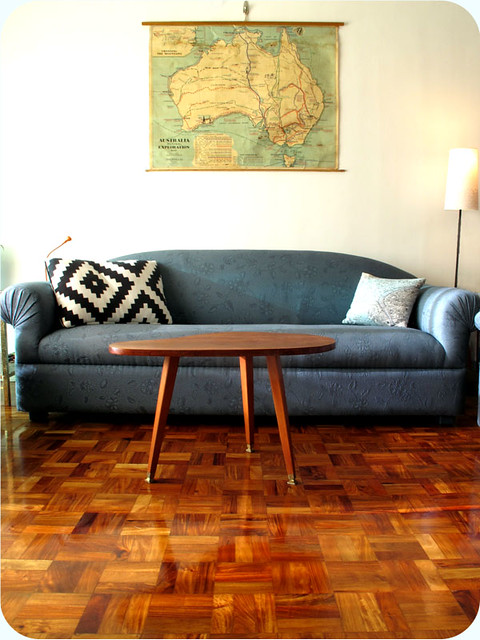
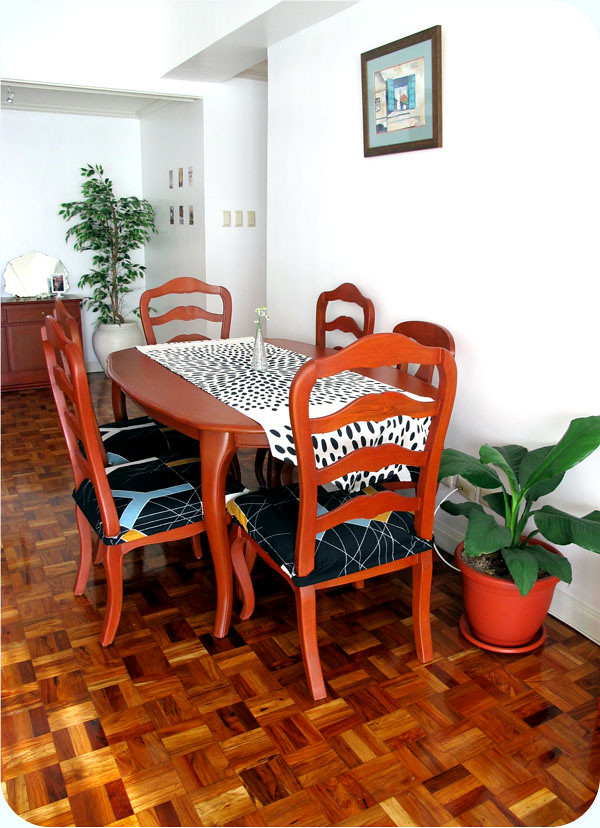
love the floors in this place. We definitely got lucky with those! They are also much less stress than the floorboards we had at our old place as they don't seem to scratch much at all. The coffee table above is one of the only pieces of furniture we brought with us, because the legs screw off so it hardly took up any space. I'm really glad we brought it because it makes such a difference to the feel of the place and makes me so happy! I got it about four years ago while on an antique hunting road trip with my parents - actually the purpose of the trip was to go visit my brother, but my patient Dad let Mum and I stop and look in pretty much every antique shop between Sydney and Adelaide. It was a very successful trip.

living room

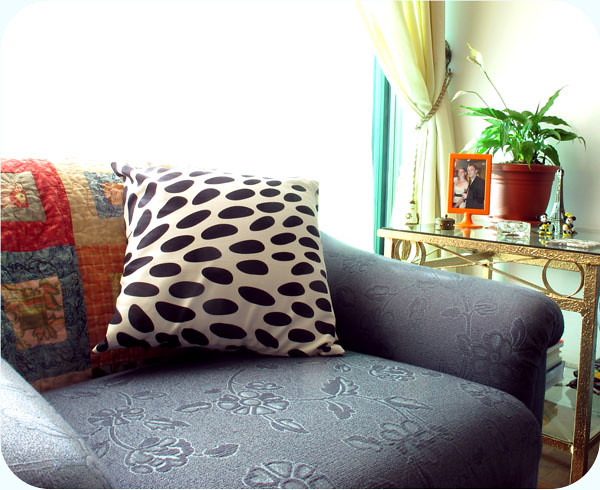
The quilt on the back of this chair (purely decorative, in this weather!) was made by my friend's mum, who I know reads this blog - Hi Andrea!
She made one for all of my friends and I around the time we were all turning 18-21. I love going to each of their houses and seeing that we all still love and use our 'Andrea quilts' despite the amount of times we've all moved since getting them. They're like friendship blankets!

living room 

I should have moved the dinner table away from the wall, but we keep it there when we don't have visitors because it gives us more space in the centre of the room. Any eagle-eyed IKEA fans would be noticing a lot of IKEA fabrics and other bits and pieces around the place - I used to work there in Sydney so before I left I went on a bit of a shopping spree to get fun new things for this apartment. That's the Bjornloka fabric on the chairs, and Tradklover on the table.
My Mum did the painting on the wall after a family trip to Italy - I raided her art collection before leaving so I could take some pieces of home with me. I've got another painting of hers in the bedroom and a linocut above the TV, but neither of those spaces are pretty enough to share yet!

living room

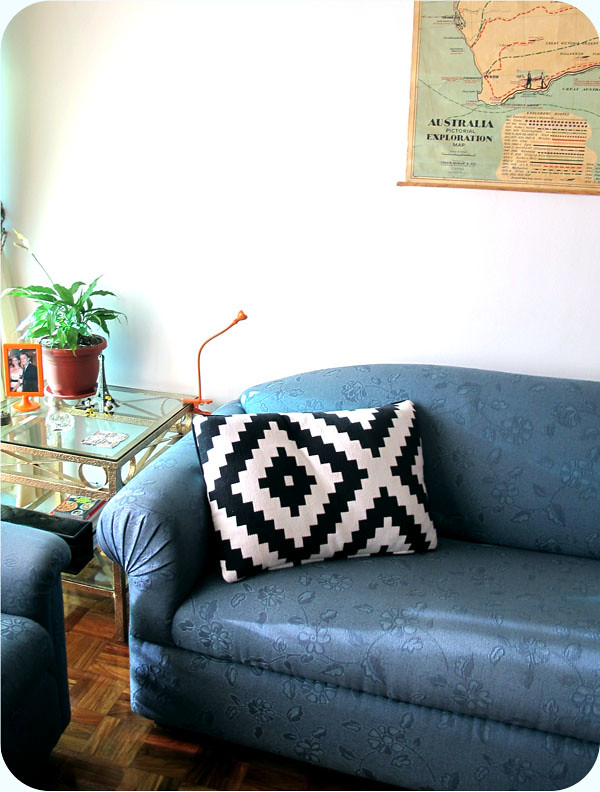
More IKEA stuff. I feel like everyone on Pinterest has that lappljung ruta cushion cover! It used to sell out pretty much every week at our store. So of course I joined the masses and got one for myself.
My mum gave me the old map above the couch - she and Dad are both teachers and she's always finding fun old school stuff around the place. When I was living in Australia I probably would have had second thoughts about hanging a huge map of Australia on the wall but now I love it -  I'm also learning lots about Australia's exploration history. Bonus!

living room

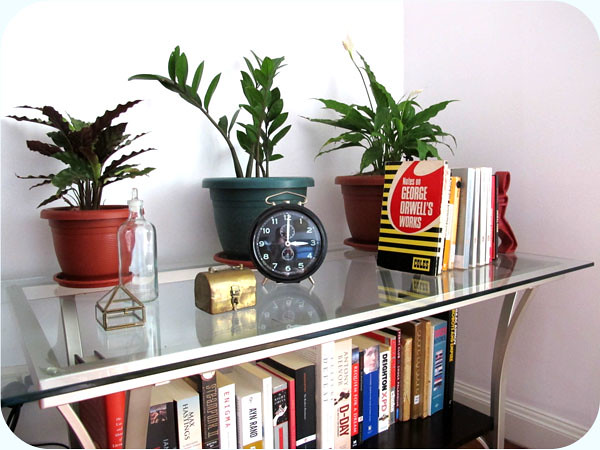
I'm slowly filling the place with plants. In Sydney I loved having lots of plants all throughout the house and on the balcony, but of course with the move I had to give them all to a friend and start again. Luckily there is a guy at our local weekend market who sells lots of plants for super cheap, and even pots them and delivers them to us for free! We've been getting a few new plants every week. In fact he just dropped off some plants about an hour ago, so these photos are already out of date!

living room

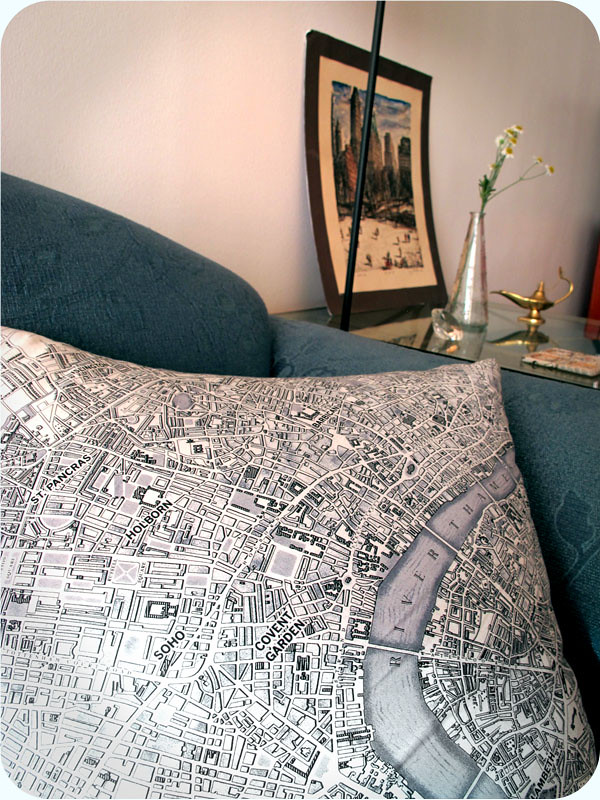
Mum gave me this cute London map scarf for Christmas (we both love maps, as you can probably tell). One day, before our shipment arrived, I was talking to her about ideas for what do do with the cushions in the lounge room and she told me I could open one of my presents early. It was the perfect size for a cushion cover! I love it because you can see Cartwright Gardens on it, which is my favourite place to stay in London (it's the crescent shape just under the words 'St Pancras').
The 'magic lamp' on the side table was a present from my brother when he was in Dubai. The picture was bought at a flea market in New York and has been waiting about five years to be framed. Apparently there's cheap framing shops here so I'll have to find one!

living room

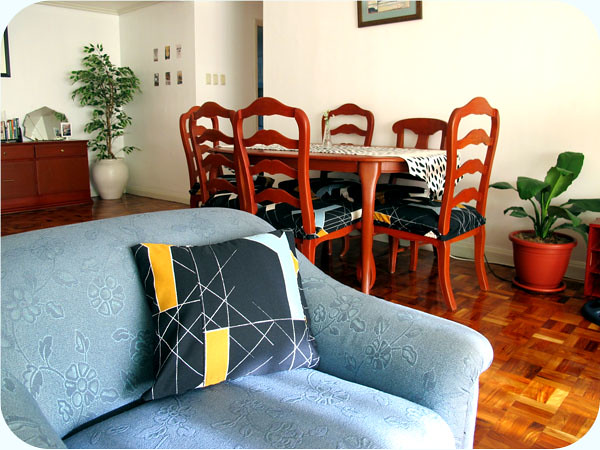
I made this cushion cover with the scraps leftover from covering the dining chairs.

living room

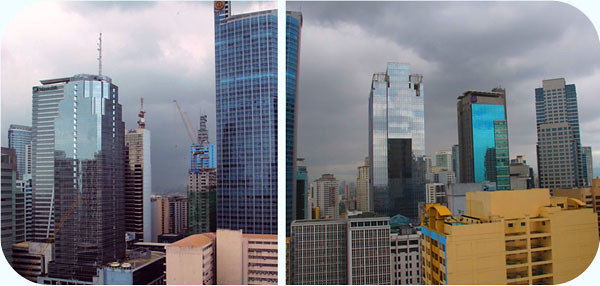
I took the instagram photo on the left the day we moved in. The room felt so... heavy. I love it now!
I'll share more interior photos as I finish each area. My work room looks like it's going to be finished up next.